How to Pack Your Cooler Like a Pro: Custom Branding Style
|
|
Time to read 3 min
|
|
Time to read 3 min
We are all creatures of comfort, even when we are venturing out into the world, whether it's a new campsite, tailgating the first game of the season, or having the best snacks for the weekend picnic. Now for many of us, less is more doesn’t cut it, so fine tuning the best strategy for packing our cooler is a necessity. We’ve collected some of our top tips on how to pack your cooler like a pro, custom branding style.
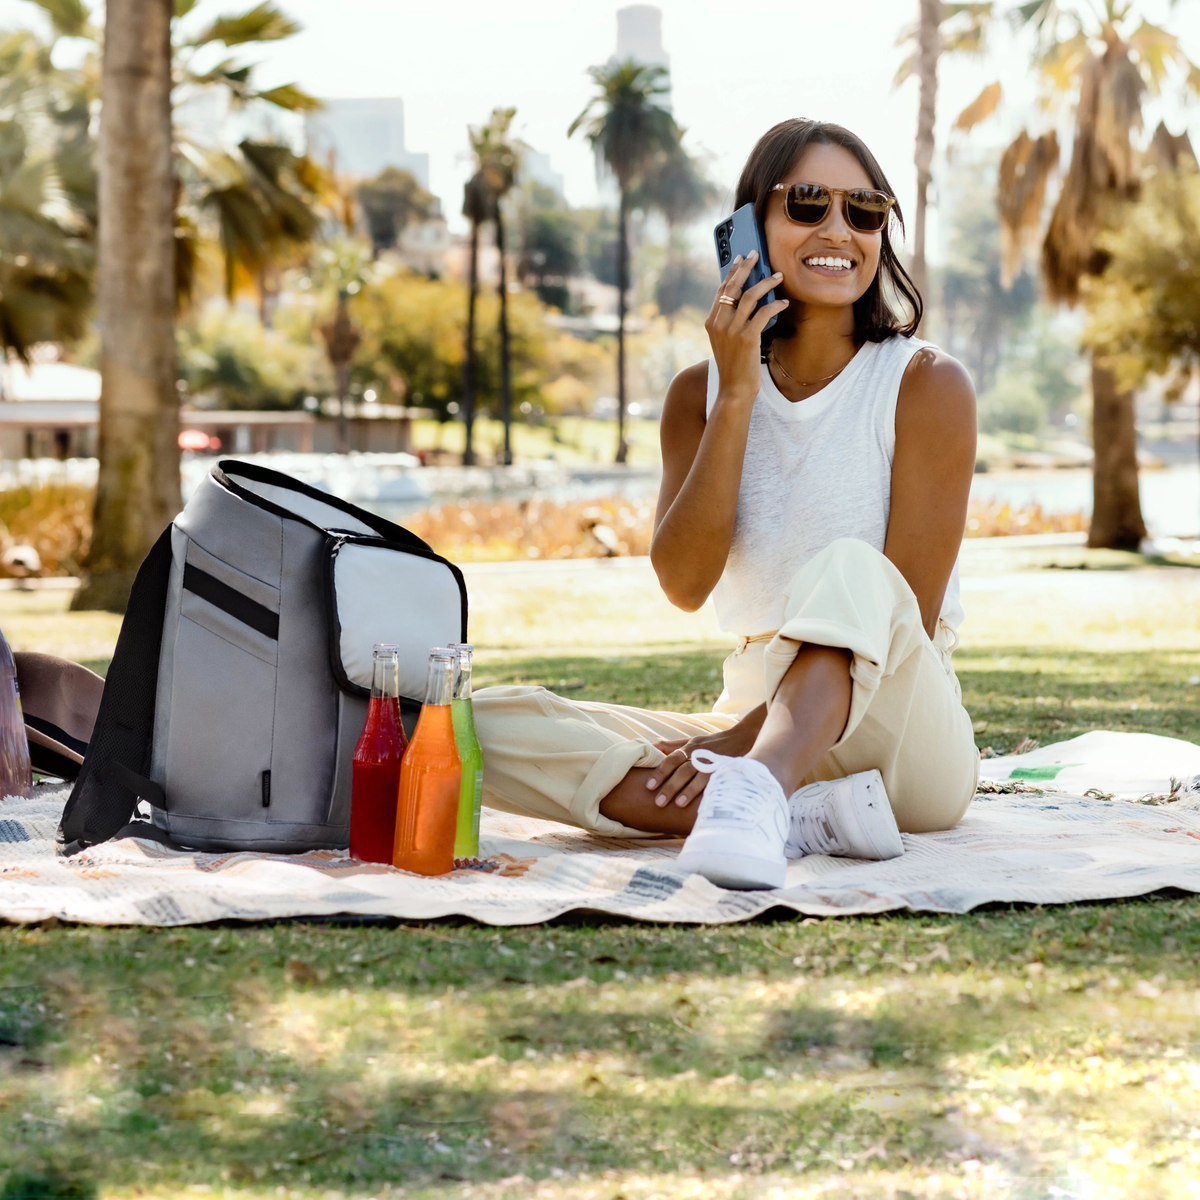
Having the right cooler size that fits the trip in mind is the first essential step to knowing what you can bring along. For something like a picnic or a single-day hike, a personal sized cooler like the Igloo Tag Along, an insulated tote bag like the Grizzly Drifter Carryall Cooler Bag, or a backpack cooler like the Otterbox Soft Cooler Backpack, will fit everything you need without weighing you down. This way you can keep things light and keep in mind the right balance between drinks and snacks.
For road trips and camping excursions, the bigger the size the better. We have a range of sizes that can go up to 110 quarts, like this RTIC Cooler, so you have tons of options to choose from. This gives you plenty of room to include ice, a variety of drinks, and really get your layering skills honed in. Plus some of them include a fishing ruler, a tray, and can double as a stepping stool or a seat.
Now there are many little tricks to get your ice to last your entire trip. Some implement dry ice, others stack the bottom with freezable ice packs, or do the super quick open and shut method. An obvious improvement is upgrading your cooler to something of higher quality than that cheap foam one you grab last minute from the gas station. Open the world of possibilities with different handles or even snag one with wheels! Plus, for those longer trips you can reserve one for mainly ice and drinks and the other for food. This is a great system to use, especially when traveling for friends for a few days.
Grabbing a tray that you can stack inside of the cooler at the top will have all of your friends insanely jealous at your cooler packing game. Keep some of those loose snack items collected all in the same place, so no need to skimp out on protein bars, powders, and anything else that will nestle in there perfectly. These can also be super convenient holding trays for snack dips or other little finger foods you wish to bring along with you. Check out these options!
When packing up the goods, it’s all about the layering. You want to avoid any big empty pockets of nothing, so following a packing strategy is key. When packing up the cooler, we recommend starting off with either those ice packs at the bottom or putting down all of your drinks that have been in the fridge as the bottom layer. Throw some ice on top and fill it up enough to leave room for your snacks. Depending on what snacks you want to bring, you can then organize those into little food groups for simplicity and pack the ice around it. Keeping the food and maybe a few quick drink grabs towards the top are great for 1) easy access and 2) keep your snacks from getting crushed.
As the day goes on and everyone starts to dive in, things will continue to shift and the ice will start to melt a little bit. Don’t worry about draining any of this out, it can still stay cold enough to keep those icy temps around even longer. We don’t drain it till we are basically done with our adventure and are heading on home.
At the end of the day, everyone has their own packing style. We all have our own different snacks, drinks, and treats that we have to have. But we hope some of our tips can help you get started and drum up some excitement for your trip!